Think of an instrument you'd love to carry with you. Your grandmother's upright piano. A kalimba from a trip. The bowl that rings when you tap it with a spoon. Your own voice humming one note. Sampling is how you capture it and turn it into something you can play on any keyboard, in any song.
Before you set up a single microphone, here's the first decision. Press play: it's one note repeated, alternating soft and hard.
Imagine turning the soft notes up until they are as loud as the hard ones. Would they sound the same?
Soft and hard
Loading the phrase…
That's an electric piano sound, but every struck, plucked or blown instrument does the same thing. Tap a table gently with a fingertip, then firmly. The firm tap isn't just louder; it has a sharper click and a brighter ring. A harder performance changes the sound itself, not just its level. You can turn a soft recording up, but you can't turn it into a hard one. That's why sample libraries record the same note at several strengths.
Why harder is brighter
When you hit a string, a drum head or a tine harder, you put more energy into its quick, high vibrations. The upper harmonics jump up much more than the fundamental does. A gentle touch gives you mostly the body of the note; a hard one adds the edge.
One note, soft and hard
Same idea, different place: this is the same change you hear in Timbre and harmonics. The balance of harmonics is the color of a sound, and touch changes the balance.
Start with what you want to play
The fastest way to an unfinished sample library is to record everything. Begin with one sentence about what the instrument is for:
- "A two-octave kalimba for short, gentle melodies."
- "Four kitchen percussion sounds for a lo-fi beat."
- "One sustained note of my voice I can play as a pad."
That sentence tells you which notes, which dynamics and how long each recording needs to be. A small instrument you finish will teach you far more than a huge one waiting to be edited.
Choose your notes
A root note is the pitch a recording was made at. A sampler plays nearby keys by speeding the recording up or slowing it down. Speed it up and the pitch rises, but the attack gets snappier and the tail shorter too; slow it down and everything stretches.
So you don't need every key, but you need enough. Many piano libraries record every three semitones; a simple kalimba might be fine with one recording per tine. Start sparse: record a few roots across your range, play the keys in between, and add roots only where the stretched notes stop sounding like the instrument.
Some instruments change character from low to high (a voice going from chest to head, a guitar from wound to plain strings). Put roots closer together where the character changes fastest.
Choose your dynamics
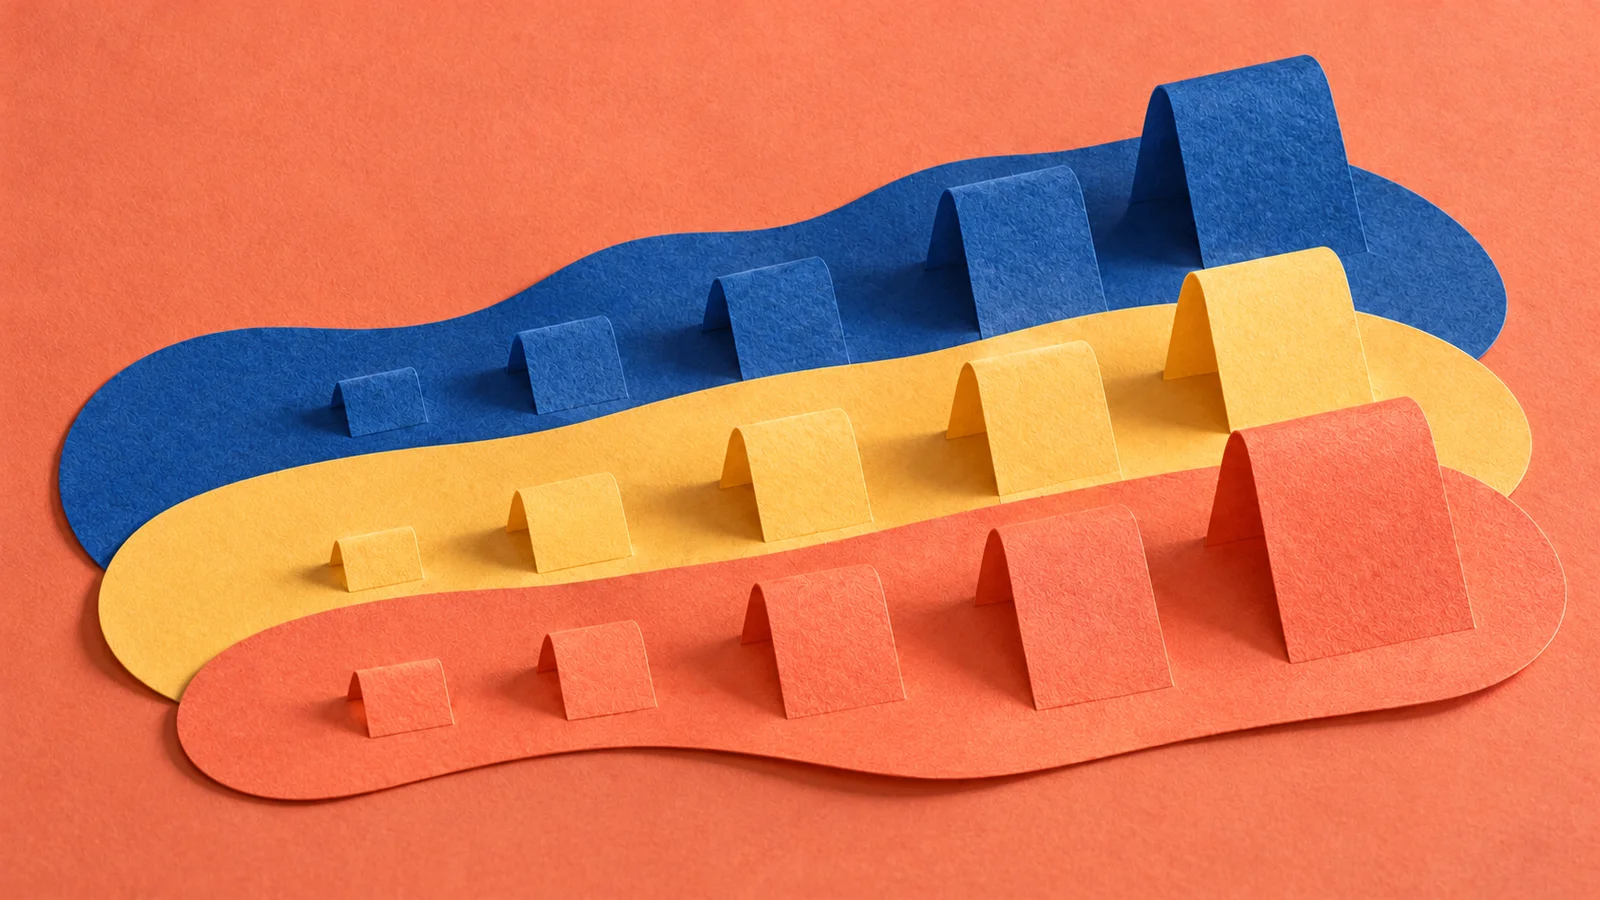
Record one note soft, medium and hard, then listen side by side. If soft and medium differ only in level, you probably only need two layers. If medium has a character of its own, keep three.
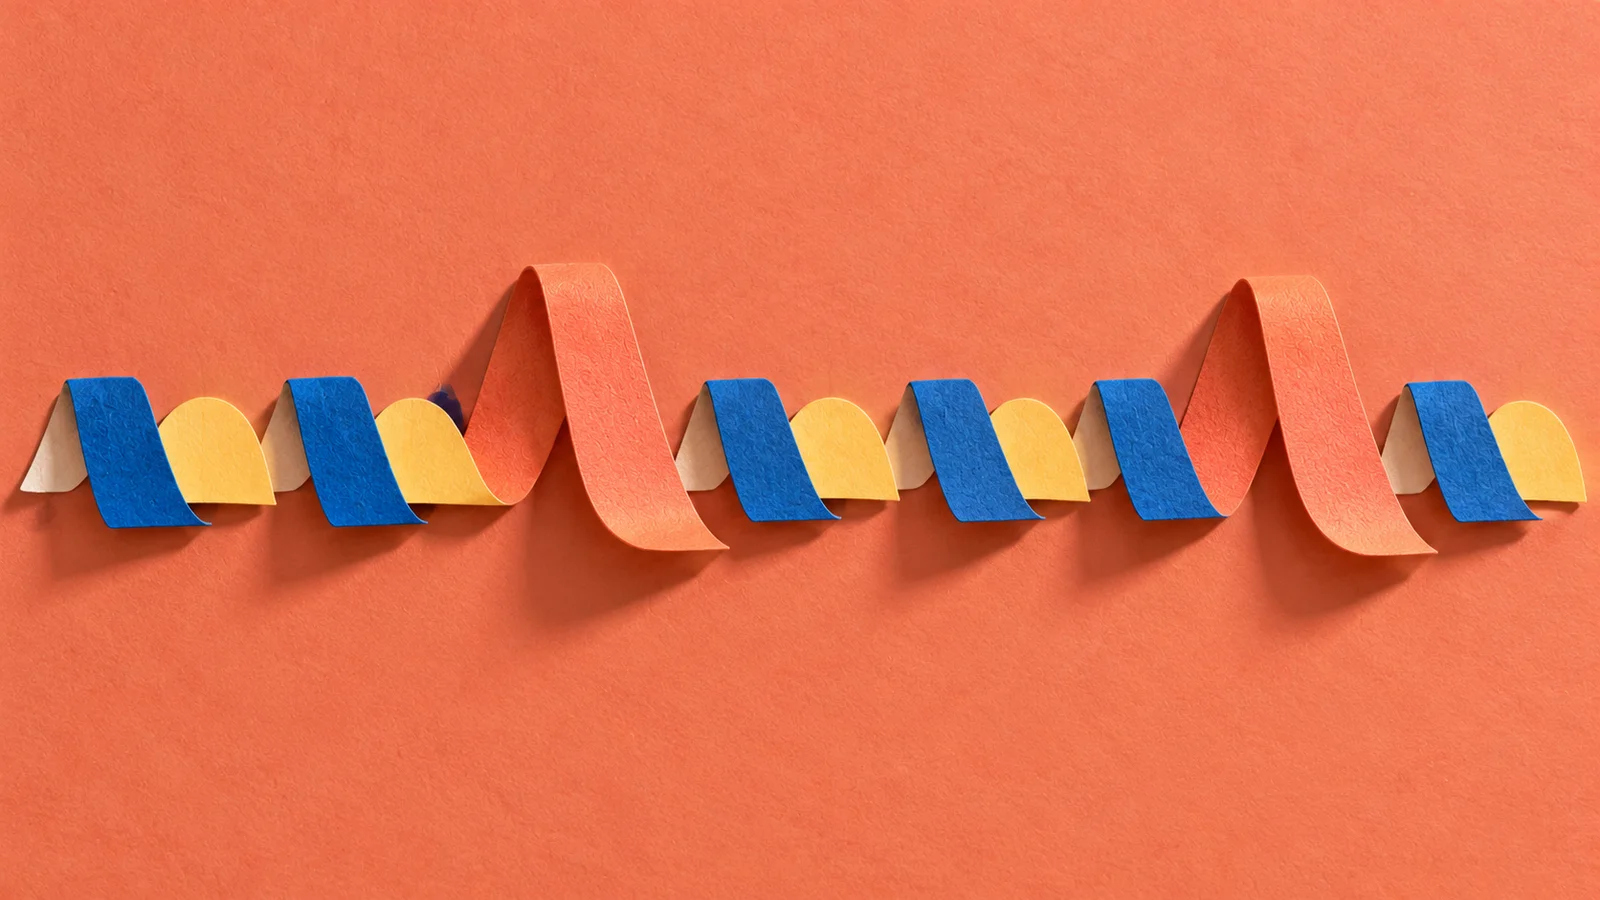
A layer is a different strength or technique. An alternate take is another performance of the same thing, like two soft hits that are a little different. Layers give you dynamics; takes give you variety when the same note repeats, which Round robins and articulations puts to work.
Count before you record. Four roots, two layers and two takes is sixteen recordings, each of which you'll trim, check and map. Add a few more for reference notes and a recording of the empty room.
Keep everything the same, except the playing
A sampled instrument is many separate recordings that have to sound like one instrument. Anything that changes between them becomes a seam the player will hear.
- Fix the microphone. Same position, same distance. Take a photo of the setup.
- Set the level once, for the loudest note. Record a hard hit first and leave headroom. If it clips, the flattened peaks are gone for good. Then don't touch the gain for the rest of the session.
- Play a reference note. Every so often, record the same note the same way. After a break or a bumped mic stand, it tells you whether anything changed while you can still fix it.
- Mind the room. The fridge, the traffic, the heating: whatever is there will be in every sample, and it'll get louder when you play chords.
Leave space at both ends
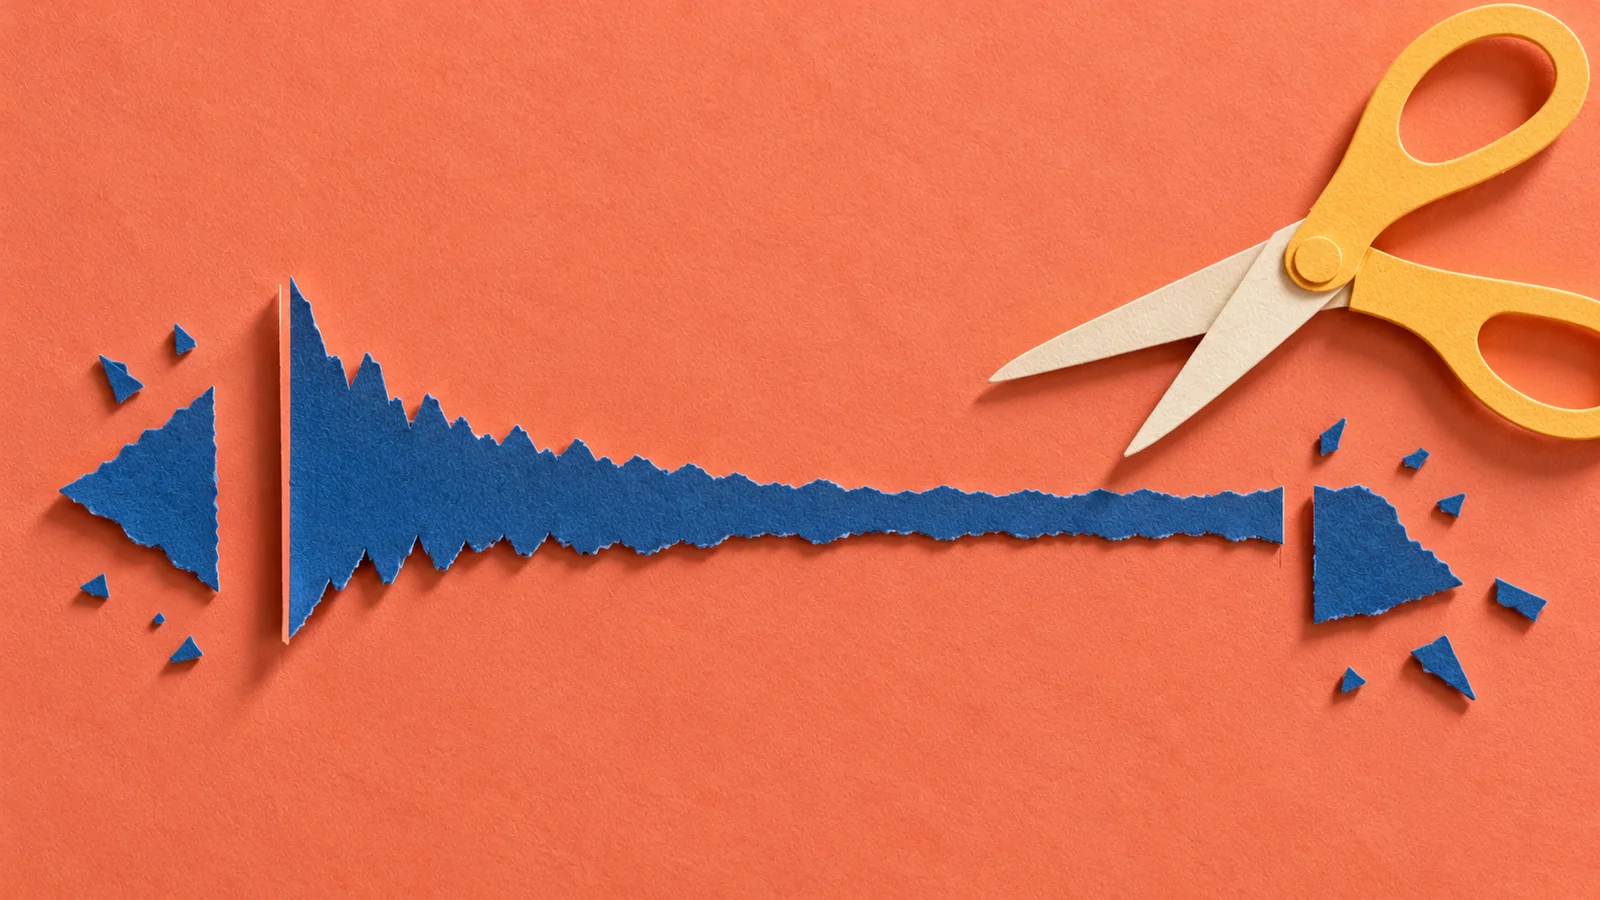
Start recording before you play and stop well after the sound has died. A little silence before the note helps you find the true start later; a soft bow or a breath can begin earlier than you expect. A full tail lets you decide how the note ends.
For instruments that sustain (organ, bowed strings, a held voice), record several seconds of steady tone after the attack. That's what you'll loop. And record ten seconds of the empty room, with nobody playing, so you know what's noise and what's the instrument.
Keep every raw recording untouched. You can always trim a copy again; you can't un-trim.
Check you can share it
Recording something and having the right to share the recordings aren't the same. If a friend plays, ask them and write down that they agreed. If you use someone else's recordings, read their licence: some let you use samples in songs but not pass them on as a library. CC0 recordings are about as free as it gets; even then, note where they came from. Write this down now, when you remember, rather than when you're about to publish.
Record one note first
Before the full session, record a single root with all its planned layers and takes. Name files clearly (C4-soft-take1.wav), map them to a few keys and play a phrase.
This pilot tells you almost everything. Is the soft layer useful? Does the hard one clip? Are two takes close enough to swap, or does one jump out? Is the tail long enough for slow music? Fix the plan now, before you multiply the problem by sixteen.
Make it yours
Plan your own session. Fill in one row per recording you intend to make, starting with your pilot note.
What will you record, at which strengths, and what should each recording give the player?
Sampling session plan
0 of 6 done · saved in this browser
Then record the pilot. When it plays well across a few keys, you'll know the plan works, and the instrument you love is already starting to become one you can play.
A first sampled instrument follows a small recording plan through trimming, keyboard mapping and alternate takes, then finishes with a short piece that shows what your instrument does well.
Quick check
- Your soft and hard recordings of a cajón sound almost identical once level-matched. Do you need both? Probably not. A second layer earns its place when it brings a different character. Use the saved time to record alternate takes instead.
- Halfway through the session one note seems quiet, so you turn up the preamp. What did you just make harder? Keeping the layers consistent. Recordings before and after the change now have different gain. Leave the gain alone, or note the change and record a reference note on both sides of it.
- You plan four roots, three layers and three takes. How many recordings is that, and is it a good first session? Thirty-six, before room tone and reference notes. That's a lot to edit for a first instrument. Try two layers and two takes on a pilot root first and see if you need more.
Next steps
- Go deeper: Preparing samples. Your pilot note has silence before it, a breath and maybe a click at the end. What do you keep?
- Sideways: Training on your own sounds. Recording for a model is closer to this plan than to programming: the same choices about range, dynamics and consistency, with the recordings becoming the instrument's limits.
- Use it: Key and velocity mapping. Turn your recordings into a keyboard that responds to touch.